



Tape-In Hair Extensions: How They Work, What They Cost and How to Care for Them
You have seen the results on Instagram. Thin, flat hair suddenly falls in thick, glossy sheets, and you want to know the secret. For a lot of women, that secret is tape-in hair extensions, and the honest truth is that they are one of the fastest, most natural-looking ways to add length and volume without a needle, a hook, or hours in a salon chair. But here is the real problem: most of what you find online is either a salon trying to upsell you or a horror story about hair "ruined" by tape-ins that were never applied or cared for correctly. Neither extreme tells you what you actually need to know before you spend your money.
This guide breaks down exactly how tape-in hair extensions work, what they genuinely cost, how long they last, and the specific care habits that keep both the extensions and your own hair healthy underneath them. No guesswork, no scare tactics.
What Are Tape-In Hair Extensions and How Do They Attach to Your Hair
Tape-in hair extensions are thin wefts of hair, usually about an inch wide, pre-bonded to a strip of medical-grade adhesive tape, that sandwich a small section of your natural hair between two tape wefts to hold it in place. Think of it as a glue-free clamp: one weft sits underneath a thin layer of your own hair, a second weft presses on top, and the two tapes fuse together, gripping your strand without touching your scalp directly.
A trained stylist sections your hair horizontally, starting a finger's width below the crown so the top layer can fall over the extensions and hide the attachment points. Each tape weft is placed flat against the head, following your natural growth direction, so the row lies smooth instead of sitting like a shelf under your fingers. A full head typically uses anywhere from 20 to 40 wefts, depending on how thick your natural hair is and how much volume or length you want. Once every row is placed, the stylist blends everything with a light trim so the extensions melt into your leave-out.
The appeal is simple. Unlike sew-ins, there is no braiding underneath, which means less tension on your edges and a flatter, more natural lay against the scalp. Unlike glue-in bonds or keratin fusion, there is no heat tool involved in application, so your strands are not exposed to a hot bonding gun. And compared to micro-links, there are no small metal or silicone beads that can dig into fine hair over time.
How Much Do Tape-In Hair Extensions Actually Cost
Tape-in hair extensions carry two separate costs that many first-timers do not budget for: the price of the hair itself and the price of professional application, and skipping either one to save money is usually where people run into trouble. Quality matters more here than almost any other extension method, because tape-ins sit close to your scalp and stay in for weeks at a time, so cheap fibre or poorly bonded tape will show, tangle, and shed faster than it should.
Here is what actually drives the price:
- The hair quality. Remy human hair with intact, aligned cuticles lasts through multiple reapplication cycles and blends seamlessly. Non-Remy or synthetic blends tend to matte at the wefts within weeks and cannot be reused.
- The number of wefts. More wefts mean more coverage and a fuller result, but they also mean a higher hair cost and a longer application session.
- Stylist expertise. A stylist who sections carefully and places tape close to the root without touching the scalp will save you from slippage and premature shedding, and that skill is worth paying for.
- Reapplication and maintenance. Because tape-ins move up with your natural hair growth, you are not buying a one-time style. You are budgeting for a recurring service roughly every 6 to 8 weeks.
If you are buying quality wefts to have installed locally in Nigeria, treat the pricing the same way you would treat a full bundle purchase: raw or Remy hair costs more upfront than blended alternatives, but it pays for itself because you can reuse the same wefts through several reapplication cycles instead of buying new hair every couple of months. Explore quality hair extensions and wefts here to compare textures and lengths before you commit to a style.
How Long Do Tape-In Extensions Last Before You Need a Reapplication
Correctly applied tape-in extensions typically need repositioning every 6 to 8 weeks, and with proper care the same hair can be removed, cleaned, and reused for up to a year or longer. The tapes themselves do not fail on a fixed schedule. What actually happens is that your natural hair keeps growing from the root, so the bond gradually slides down and away from your scalp, creating a visible gap and a slightly heavier, looser feel near the base.
Leaving them in past that window is where problems start. Overdue tapes bunch together, trap natural shed hair inside the bond, and start to tangle at the root, which makes removal harder and increases the chance of pulling out strands that were never meant to come out. If you notice the wefts sliding, feel a hard clump forming at the root, or see visible tape peeking through your part, that is your sign to book a move-up appointment rather than wait it out.
Tape-In vs Other Popular Extension Methods
Choosing between tape-ins, clip-ins, sew-ins, and micro-links comes down to how much maintenance you want, how your natural hair behaves, and how quickly you want to walk out the door looking finished. Here is how the four most requested methods stack up against each other.
| Method | Application Time | Typical Wear Before Maintenance | Best For | Daily Feel |
|---|---|---|---|---|
| Tape-in | 1 to 2 hours | 6 to 8 weeks | Fine to medium hair wanting a flat, natural lay | Lightweight, low bulk at the root |
| Clip-in | Under 10 minutes, no stylist needed | Removed nightly, no fixed cycle | First-timers wanting a commitment-free trial | Secure but noticeable if overloaded |
| Sew-in (weave) | Several hours with cornrow braiding | 6 to 10 weeks | Medium to coarse or coily textures wanting maximum coverage | Fuller, more tension at the braid track |
| Micro-link | 1 to 3 hours | 10 to 12 weeks | Those avoiding heat and adhesive entirely | Small bead point of contact per section |
If your priority is a quick, natural-looking result with minimal daily fuss, tape-ins usually win. If you want zero commitment and the freedom to remove your length every single night, clip-ins are the gentler entry point, and you can pair the two once you know your preferred texture.
The Right Way to Care for Tape-In Extensions Day to Day
Caring for tape-in extensions means protecting the adhesive bond while keeping both the extensions and your natural hair clean, which comes down to how you wash, dry, brush, and sleep on them. Get these habits right and one set of quality wefts will outlast several reapplication cycles.
Washing without weakening the bond
Wait 24 to 48 hours after your appointment before the first wash, so the tape has time to fully set against your strand. After that:
- Wash 2 to 3 times a week with a sulfate-free, lightweight shampoo. Sulfates and oil-heavy formulas break down adhesive faster than anything else.
- Focus shampoo at the scalp and let the lather rinse down naturally rather than scrubbing at the tape rows directly.
- Apply conditioner from mid-length to ends only, never at the root, since conditioner near the bond is one of the fastest ways to loosen it early.
- Rinse with cool or lukewarm water. Hot water softens the adhesive and shortens how long your tapes hold.
Drying and styling without stress on the bonds
Blot the roots gently with a towel instead of rubbing, then air dry or diffuse on a low heat setting. When your hair is fully dry, always dry the root area first and thoroughly, because damp bonds left to dry naturally under a beanie or bonnet can slip. Heat tools are fine on the lengths, but keep direct heat away from the tape itself.
Brushing that prevents tangling at the root
Brush two to three times a day with a loop brush designed for extensions, always supporting the section above the tape with one hand while you brush below with the other. This "hold and brush" technique takes the tension off the bond so you are not tugging your natural hair loose with every stroke.
Protecting your investment at night
Loosely braid your hair or tie it into a low, soft ponytail before bed, and sleep on a silk or satin pillowcase to cut down on the friction that causes matting overnight. If you already keep silk bonnets or scarves in your routine, that same habit works beautifully with tape-ins too. Shop silk sleep accessories and hair care essentials here to round out your maintenance kit.
Common Mistakes That Actually Damage Hair with Tape-Ins
Tape-in extensions do not damage healthy hair by default. The damage that does happen almost always traces back to a handful of avoidable mistakes, and most of them are within your control once you know what to watch for.
- Oil near the root. Serums, deep conditioners, and heavy edge creams applied close to the tape will dissolve the adhesive early, causing slippage and uneven wear.
- Skipping the move-up appointment. Waiting past 8 weeks lets natural shed hair tangle inside the bond, which makes the eventual removal rougher on your strands.
- Taking too much hair per tape. If a stylist sandwiches a thick section of hair between the wefts, the added weight and leverage creates ongoing tension at the follicle, which over months can contribute to thinning at the root.
- Forcing removal at home. Pulling tapes apart without the correct adhesive remover breaks natural hair strands instead of releasing the bond cleanly. Removal should always involve saturating the tape with an approved solvent, gently working it loose, and combing out residue before the next application.
To fix this, book with a stylist who explains their sectioning and tape placement before they start, wash and brush according to schedule, and never skip a move-up appointment because you are "too busy". The extensions themselves are not the risk. Neglecting the maintenance window is.
Frequently Asked Questions
Can you wash your hair normally with tape-in extensions?
Yes, but wash 2 to 3 times a week rather than daily, using a sulfate-free shampoo focused at the scalp and conditioner kept away from the tape rows, then rinse with cool water to keep the adhesive intact for longer.
Do tape-in extensions ruin your natural hair?
Not when applied and maintained correctly. Damage typically comes from taking too much hair per tape, letting oil sit near the bond, skipping reapplication past 8 weeks, or forcing tapes apart during removal instead of using an approved adhesive remover.
How many wefts do you need for a full head of tape-ins?
Most full-head applications use between 20 and 40 wefts depending on how thick your natural hair already is and how much volume or length you are adding, with a skilled stylist adjusting placement so the rows blend rather than sit visibly under your part.
Can you reuse tape-in extensions after removal?
Yes, quality Remy human hair wefts can be professionally cleaned, re-taped, and reapplied multiple times, which is exactly why investing in better hair upfront saves money across several reapplication cycles instead of repurchasing every 6 to 8 weeks.
Featured in our collection
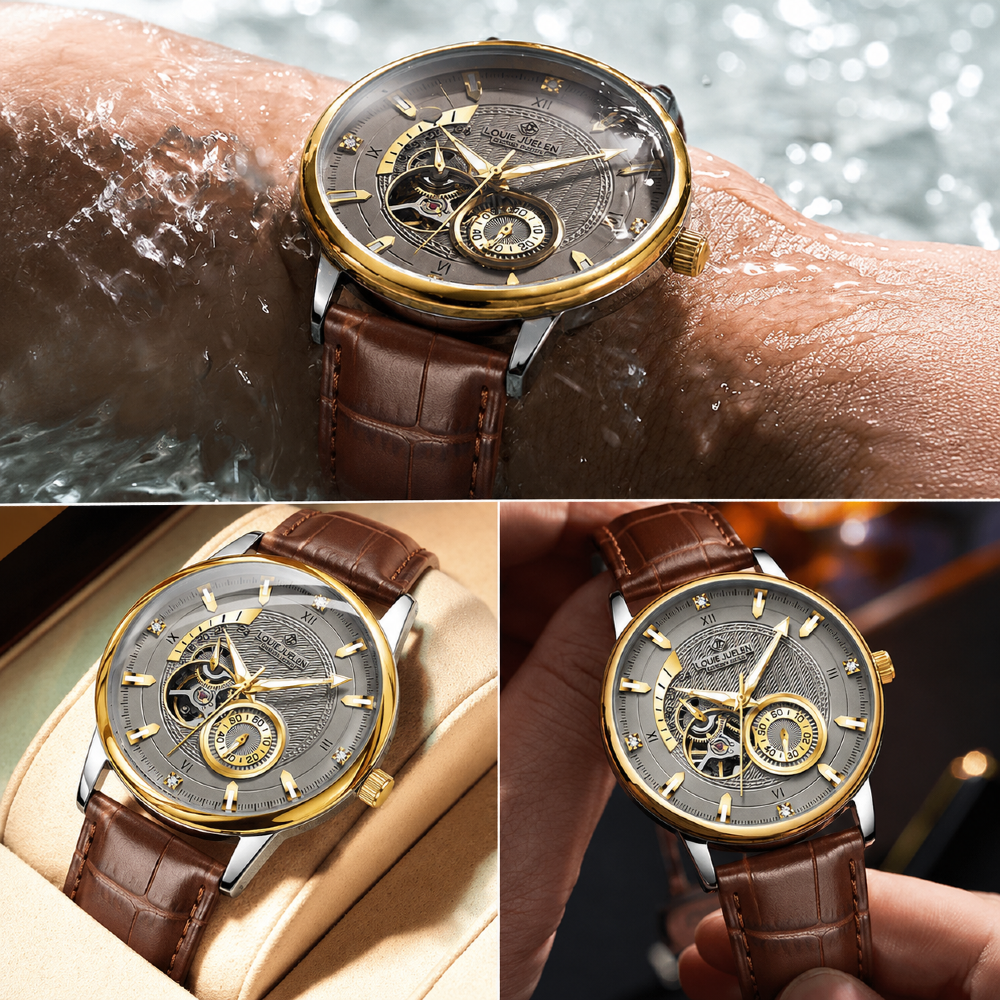
Louis Juelen Luxury Automatic(Tourbillion ) Premium Watch
Automatic Watch Winder
₦85,000
₦150,000

Poedagar Chronograph Luxury Watch
Free 24ml luxury Roll On oil perfume
₦45,000
₦65,000

Louis Juelen Automatic Chain Strap
Automatic Watch Winder
₦140,000
₦250,000