


How to Reuse Old Hair Bundles and Turn Them Into a Brand-New Wig
That plastic bag of leftover bundles sitting at the bottom of your drawer is not trash. It is money you already spent, and with the right approach you can reuse old hair bundles to build a completely new wig instead of buying one from scratch. Every Nigerian woman who has ever done a sew-in knows the feeling: the style is over, the tracks come out, and you are left staring at a pile of hair that still looks good but has nowhere to go. Most people fold it into a bag and forget about it. That is the real waste, not the hair itself.
Here is the truth. Human hair does not expire the moment it leaves your head. If it was cared for properly during its first life as a sew-in, closure piece or old wig, it can absolutely be washed, restored and reconstructed into a fresh unit that looks just as good as something you picked up off the shelf. This guide walks you through the whole process, from judging whether your bundles are worth saving to the actual sewing and gluing steps that turn loose wefts into a wearable wig.
Why Bother Reusing Old Bundles Instead of Buying New Ones
Reusing old hair bundles saves you real money, keeps good quality hair out of the bin, and gives you a custom wig built to your exact density and length preferences instead of settling for whatever is on the shelf. A single bundle of decent quality human hair is not cheap, and if you have three or four sitting unused after a sew-in, you are looking at a wig's worth of hair already paid for.
There is also a texture argument here that beginners miss. Hair that has already been washed, styled and worn once tends to sit a little softer and blends more naturally than hair straight out of the packet, which can look almost too shiny and uniform. Stylists who work with returning clients will tell you that "broken in" bundles often lay flatter and move more like natural hair from day one.
The only real catch is condition. Not every leftover bundle deserves a second life, so before you commit an afternoon to rebuilding a wig, you need to check what you are actually working with.
Check This Before You Start: Is Your Old Hair Actually Worth Reusing
Old bundles are worth reusing when the hair still has intact cuticles, minimal shedding when you run your fingers through it, and no matting at the wefts, but hair that snaps easily, feels straw-like when dry, or sheds heavily from the tracks should be retired instead. Spend ten minutes doing this check before you start sewing, because rebuilding a wig around damaged hair only wastes your time twice.
Run through this quick assessment:
- The finger-comb test. Take a small section and comb through with your fingers from root to tip. A handful of loose strands is normal. A clump coming away each time means the hair is breaking down.
- The shine test. Healthy bundles reflect light evenly along the strand. Hair that looks dull and flat in patches has usually lost too much of its cuticle layer.
- The tangle test. Gently pull a section apart. Hair that tangles instantly into knots close to the weft is a sign the cuticles are lifted and rough, which means it will keep matting no matter how much you condition it.
- The stretch test. Wet a strand and stretch it gently. Human hair should stretch slightly and spring back. If it snaps immediately, the protein structure is compromised and no treatment will fully fix it.
- Check the weft itself, not just the hair. Machine wefts that are fraying, splitting or losing hair from the track line are harder to resew cleanly, even if the hair strands themselves are fine.
If your bundles pass these checks, you are in good shape. If only one or two bundles out of a set are damaged, you can still combine the good ones with a fresh bundle to fill out density, which is a common trick stylists use to stretch a budget.
What You Need to Gather Before You Rebuild the Wig
You need a wig cap, a wig head or stand, T-pins, a curved needle with strong thread or a hot glue gun, a wide-tooth comb, and your washed and conditioned bundles, all of which cost far less than a new unit. Most of these tools are reusable across future projects too, so this is really a one-time investment.
Here is the full kit:
- A wig cap in a stretch lace, dome cap, or wig net, chosen based on how much length and density you are working with
- A canvas wig head mounted on a stand, which gives you a stable, head-shaped surface to sew or glue on
- T-pins to hold the cap taut and in place while you work
- A curved sewing needle and strong nylon or cotton thread if you plan to hand sew the wefts down
- A low-heat glue gun if you prefer the no-sew method
- A rat-tail comb for sectioning and a wide-tooth comb for detangling
- Sulphate-free shampoo, a deep conditioner and a leave-in treatment to restore the bundles before they touch the cap
- Sharp fabric scissors, kept separate from the ones you use for lace, so the blade stays sharp for cutting thread and trims
Step-by-Step: How to Turn Your Old Bundles Into a Wig
Building a wig from old bundles comes down to five stages: washing and restoring the hair, choosing your cap, sectioning the cap into rows, attaching the wefts row by row from nape to crown, and finishing the style once every track is secure. Work through it in order and resist the urge to skip the wash step, since dirty or product-heavy hair will not sit properly against the cap.
Step 1: Wash and Deep Condition the Old Bundles First
Detangle gently from the ends upward before any water touches the hair, working out old product buildup and shed strands so you are not locking tangles in during the wash. Shampoo with a gentle, sulphate-free cleanser, focusing on the mid-lengths and ends rather than scrubbing at the weft itself. Follow with a rich deep conditioner left on for at least fifteen minutes, then rinse with cool water to help the cuticle lie flat. Finish with a leave-in and let the bundles air dry fully on a towel before you go anywhere near a needle or glue gun. Wet hair stretches differently to dry hair, and sewing it in while damp can leave your finished wig uneven once it dries.
Step 2: Mount and Prepare Your Wig Cap
Stretch the cap over the canvas head and secure it firmly with T-pins at the front, back and sides so it cannot shift while you sew. Use a marker or light chalk to draw your rows, starting about half an inch from the hairline and working back toward the nape in horizontal lines roughly half an inch apart. Tighter rows give you more density but take longer, so plan your spacing based on how many bundles you actually have to work with.
Step 3: Attach the Wefts Row by Row
Start at the nape and work upward, since this hides the earlier, slightly less neat rows under the layers that follow. If you are hand sewing, fold the top edge of the weft over slightly and stitch it flat along your marked line with small, tight loops every half inch. If you are using the glue method, run a thin, even line of hot glue along the row and press the weft down firmly for about thirty seconds until it sets. Continue row by row, checking density as you climb, and leave the crown area slightly less dense if you want a natural-looking part.
Step 4: Secure the Front Edge
The front row deserves the most patience because it frames the whole face. Sew or glue this row slightly further back than you think you need to, leaving room to pluck or style the hairline afterward if the finish looks too blunt.
Step 5: Finish, Trim and Style
Once every row is secure, remove the cap from the stand, trim any uneven ends, and style as normal with a light heat protectant if you plan to flat iron or curl the finished piece.
Hand-Sewing vs Hot Glue vs Combining With Fresh Hair
Each rebuilding method suits a different budget, skill level and timeline, so pick based on how much durability you need versus how quickly you want to wear the wig.
| Method | Skill Level Needed | Durability | Best For |
|---|---|---|---|
| Hand-sewing wefts | Moderate, takes practice | Very durable, holds through multiple washes | Wigs you plan to wear regularly for months |
| Hot glue method | Beginner-friendly | Shorter lifespan, glue can loosen with heat and washing | Quick projects or occasional-wear wigs |
| Combining old bundles with one fresh bundle | Moderate | Durable if sewn, matches new hair's shine and lifespan | Stretching density when some old bundles fail the condition check |
Mistakes That Ruin a Reused Bundle Wig
Most rebuilt wigs fail not because the hair was bad, but because of shortcuts taken during the rebuild itself. The biggest culprits are sewing wefts in while the hair is still damp, spacing rows too far apart so the cap shows through at the scalp, and skipping the deep condition step because the hair "looked fine" before washing. Another common error is reusing a wig cap that has already stretched out of shape from a previous build. Caps lose their elasticity after repeated use, and a loose cap will shift on your head no matter how well the wefts are attached. If your old cap feels baggy or the elastic has gone slack, it is worth grabbing a fresh one before you start, since it is the cheapest part of the whole project and the one most likely to undo good work elsewhere.
If you would rather skip the DIY route entirely, or your old bundles did not pass the condition check, shop fresh human hair bundles here and start your next build with hair that is guaranteed full cuticle and tangle-free from day one.
Getting More Life Out of the Finished Wig
Once your rebuilt wig is done, treat it the way you would any premium unit. Store it on a stand when you are not wearing it, wash it every seven to ten wears rather than after every outing, and keep heat styling to a minimum on the rows nearest the cap since that is where the stitching or glue is most sensitive to repeated heat exposure. A rebuilt wig made from good quality reused bundles can genuinely last as long as a new one if you care for it properly, which is really the whole point of doing this in the first place.
For those who want the shortcut version, without the sewing or gluing, browse our ready-made wigs here built from the same quality of hair, already constructed and ready to wear straight out of the box.
Frequently Asked Questions
Can old hair bundles actually be reused to make a wig?
Yes, as long as the hair passed a condition check for shedding, matting and cuticle damage first. Bundles that were properly cared for during their first use as a sew-in or previous wig can be washed, deep conditioned and resewn onto a fresh wig cap with results that look just as full and natural as a new unit.
How do I know if my old bundles are too damaged to reuse?
Run a finger-comb test, a gentle stretch test and check the weft track itself for fraying. If hair snaps instead of stretching, sheds heavily from the root with light combing, or feels dry and straw-like even after conditioning, it has lost too much of its structure to sit well in a new build and is better retired.
Do I need to sew the bundles or can I just glue them to a cap?
Both work, but they serve different purposes. Hand sewing takes longer and needs more practice, but it holds up through repeated washing and styling, making it the better choice for a wig you plan to wear for months. Hot glue is faster and beginner-friendly, but the bond weakens with heat and washing, so it suits a quicker, shorter-term project.
Can I mix old bundles with a new bundle in the same wig?
Yes, and it is actually a common way to stretch your budget. If some of your old bundles fail the condition check while others still look great, combine the healthy old ones with one fresh bundle to fill out density and length, sewing them in together so the texture blends evenly across the cap.
Featured in our collection
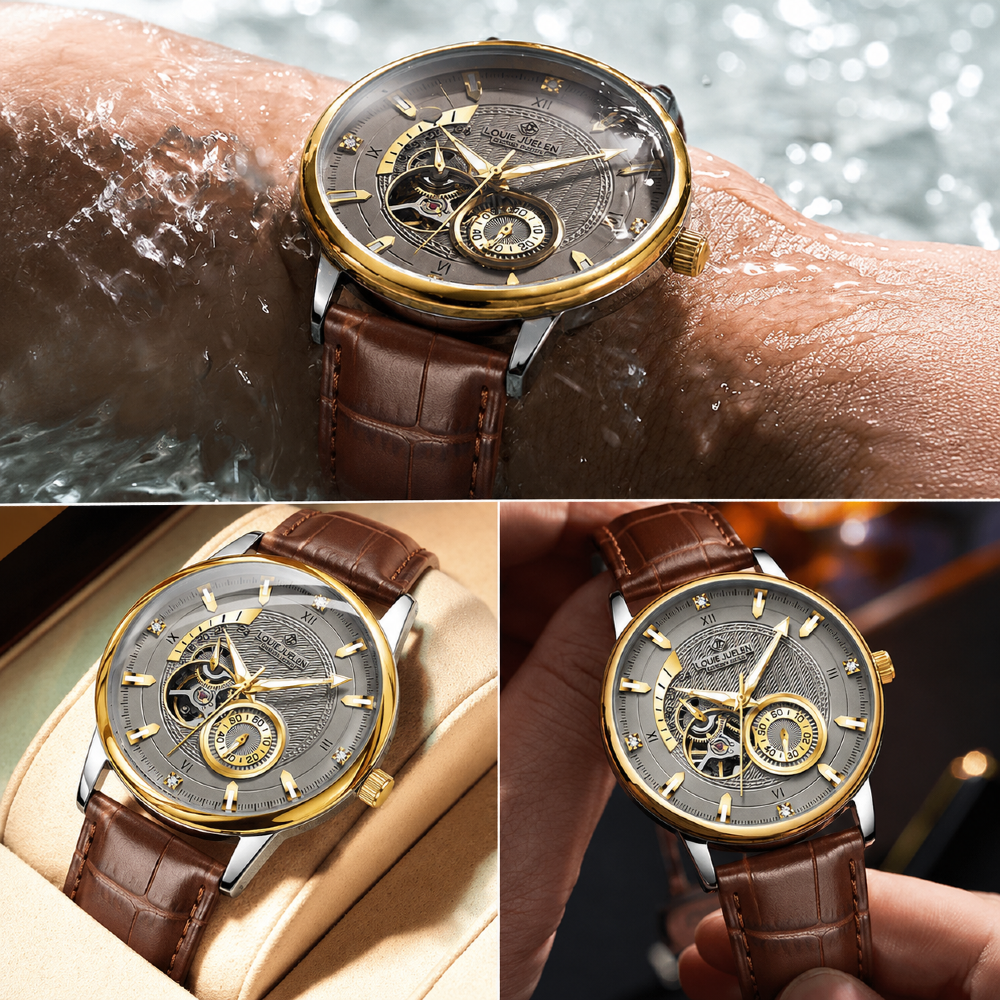
Louis Juelen Luxury Automatic(Tourbillion ) Premium Watch
Automatic Watch Winder
₦85,000
₦150,000
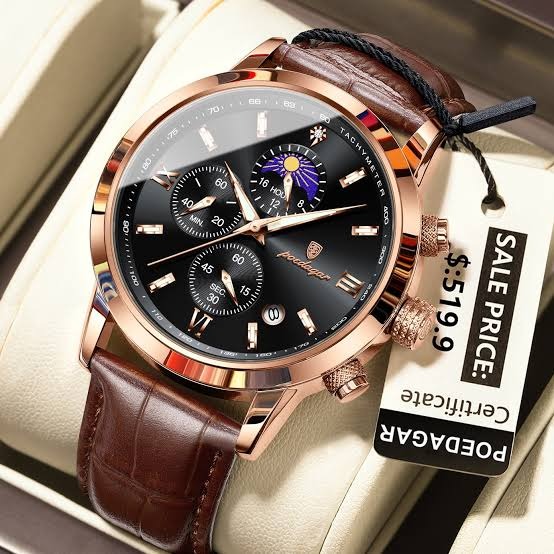
Poedagar Chronograph Luxury Watch
Free 24ml luxury Roll On oil perfume
₦45,000
₦65,000

Louis Juelen Automatic Chain Strap
Automatic Watch Winder
₦140,000
₦250,000