


Clip-In Hair Extensions: A Beginner's Guide to Instant Length and Volume
You have a party in four hours and your hair looks flat. Or maybe you have been growing your hair out for two years and you are tired of waiting for length that photographs well. This is exactly the gap that clip-in hair extensions were built to close, and it is why they remain the most beginner-friendly way to add length and volume without touching a needle, glue gun or salon appointment.
Here is the truth about clip-ins that most product pages will not tell you. A cheap set will look like a cheap set, no matter how good your blowout is. But a well-chosen, well-matched set of clip-in hair extensions can genuinely pass for your own hair, and you can put it in during a Netflix episode and take it out before bed with zero damage to your natural strands. This guide walks you through exactly how to choose, fit, style and care for clip-in hair extensions so your first set actually works, instead of sitting in a drawer after one disappointing try.
What Are Clip-In Hair Extensions and How Do They Actually Work?
Clip-in hair extensions are wefts of hair, sewn together at the top and fitted with small pressure sensitive clips, that snap onto sections of your natural hair close to the scalp for instant length and thickness. There is no glue, no heat, no braiding and no professional installation required, which is exactly why they are the entry point most women use before trying anything more permanent.
A full set usually comes as several wefts of different widths, from a wide piece for the back of your head down to narrow two-clip pieces for your temples and sides. You section your hair, snap each weft in against the roots, and let your natural hair fall over the top to hide the clips. Because they clip onto hair you already have, the fit is not permanent. You put them in when you want the look and take them out at night, which means your own hair is never under constant tension the way it can be with a sew-in.
Clip-Ins vs Tape-Ins, Sew-Ins and Wigs: Which One Actually Fits Your Life?
Clip-in extensions are the only major extension method you install and remove yourself in minutes, which makes them the right choice for anyone who wants flexibility over commitment, while tape-ins, sew-ins and wigs each trade that flexibility for longer wear time. The method that suits you depends less on which one is "best" and more on how you actually live.
If you wear your hair the same way every day and do not want to think about it, a sew-in or a good wear-and-go wig might serve you better long term. But if your hair needs change with your mood, your outfits, or your calendar of events, clip-ins let you go from your natural length on a Tuesday to waist-length glam for a Saturday wedding without any lead time.
- Clip-ins: zero damage risk since there is no glue or braiding tension on your scalp, fully reusable, removable every night, ideal for special occasions or building volume on thinning crowns.
- Tape-ins: semi-permanent, worn for 4 to 6 weeks, need a stylist for proper placement near the root, and heat tools must avoid the taped section or the adhesive can loosen.
- Sew-ins: your natural hair is cornrowed and the weft is stitched in, giving the most secure, long-lasting hold, but it puts tension on the scalp and works best on thicker, stronger hair.
- Wigs: cover your entire head rather than blending with your own hair, useful for a total style change or protective styling, but they sit on top of your hair rather than through it.
Shop our full hair collection here if you are still deciding between a clip-in set, a bundle, or a ready-to-wear wig for your next look.
How Many Wefts and Grams Do You Need for a Full, Natural Look?
Most beginners need between 100 and 220 grams of clip-in hair spread across 7 to 10 wefts, with the exact number depending on how thick your natural hair already is and how dramatic a change you want. Buying too little is the single most common reason a first set looks obviously fake, because thin coverage cannot hide its own clips.
Here is how to think about it by hair type:
- Fine or thin hair: start with a lighter set, around 100 to 140 grams across 5 to 7 wefts. Too much weight will actually drag your natural hair down and make the extensions harder to disguise.
- Medium hair: aim for 140 to 180 grams across 7 to 9 wefts, which is the range that suits most women looking for noticeable but natural length and body.
- Thick hair or a dramatic transformation: go for 180 to 220 grams or more, using the full 9 to 10 piece set so the extensions have enough density to match what you are working with.
Within a set, wefts are not all the same size. The widest piece, usually 7 to 9 inches, sits across the widest part of the back of your head. Narrower 4 and 5 inch wefts fill in below the crown and at the sides, and the smallest 1 to 2 clip pieces go near your temples and behind your ears purely for blending, not bulk.
Choosing the Right Texture, Length and Colour Match
The single factor that determines whether clip-ins look like an obvious add-on or a seamless part of your hair is how closely the texture, length and colour match your own strands at the point where they meet. Getting this wrong is more damaging to the final look than any installation mistake.
Texture first. If your natural hair is silky straight and you clip in a deep wave set, the line where they meet will be visible no matter how well you blend it. Human hair extensions can be flat ironed or curled to match your natural pattern more easily than synthetic hair, which is one reason quality human hair is worth the extra cost for anyone planning to wear extensions regularly.
Length second. Choose a length that is realistic against your own hair rather than the most dramatic option on the page. If you want a bold jump in length, go for it, but expect to spend more time blending the transition point and consider layering the ends so they do not read as one flat, blunt line.
Colour third. Match to your mid-lengths and ends rather than your roots, since that is the hair your extensions will actually sit against. If you have balayage, highlights, or any colour variation, a set with a slight ombre or rooted colour will disguise the join far better than a single flat shade.
A Beginner's Step-by-Step Guide to Installing Clip-In Extensions
Installing clip-in hair extensions takes most beginners 10 to 20 minutes once they know the order of placement, and it gets faster with practice until it takes under 10 minutes. Work from the bottom of your head upward so each new section of natural hair hides the clips beneath it.
- Prep your hair. Start with clean, dry, brushed hair. Extensions grip better and blend more smoothly onto hair that is not weighed down with product.
- Section low. Part off a horizontal section just above your nape and clip the rest of your hair out of the way.
- Tease the root slightly. A light backcombing at the root of the section gives the clips something to grip, especially if your hair is fine or silky.
- Snap in the widest weft first. Open each clip, position it flat against the section, and snap it shut close to the roots without letting it dig into your scalp.
- Work upward. Drop a new section of natural hair, and repeat with progressively narrower wefts, moving toward the crown and finishing with the small 1 or 2 clip pieces at the temples.
- Blend. Once every weft is in, brush your natural hair over the top and use a curling wand or flat iron to melt the join between your hair and the extensions into one continuous texture.
| Extension Type | Wear Time | Installation | Damage Risk | Best For |
|---|---|---|---|---|
| Clip-ins | Daily removal, 6 months to a year of use | Self-install, 10 to 20 minutes | Very low, no glue or tension | Special occasions, volume on demand, first-time users |
| Tape-ins | 4 to 6 weeks per application | Professional, salon visit | Moderate, adhesive near root | Regular wearers who want a flat, seamless finish |
| Sew-ins | 6 to 10 weeks | Professional, several hours | Higher, tension on braided hair | Thicker hair types wanting maximum longevity |
| Wear-and-go wigs | Daily removal | Self-install, minutes | Low, sits over natural hair | Full style changes or protective styling |
How to Care for and Store Clip-In Extensions So They Last
Well-maintained clip-in hair extensions can last anywhere from 6 months to a year or longer, and human hair sets that are handled gently can even be reused up to 100 times before they need replacing. The real problem with clip-ins wearing out early is almost always over-washing and rough brushing, not the hair itself.
- Wash sparingly. Only wash your set every 15 to 20 wears, since the hair is not attached to a scalp producing natural oils and does not get dirty the way your own hair does.
- Use sulfate-free products. A gentle, sulfate-free shampoo and a hydrating conditioner applied from mid-length to ends will keep the cuticle smooth without stripping colour treatments.
- Brush before storing. Detangle gently with a wet brush or a loop brush starting from the ends and working up, every single time before you put the set away.
- Store flat or hung. Keep wefts in their original box, a hanging extension holder, or a soft storage bag away from direct sunlight and humidity, which both cause frizz and colour fade over time.
- Protect from heat. Always apply a heat protectant before flat ironing or curling, and keep your iron below 180°C, the same rule that applies to any human hair investment.
Browse premium human hair extensions here if your current set has started shedding or matting, since the quality of the raw hair is what determines how well it survives repeated styling.
Common Beginner Mistakes to Avoid
- Buying based on length alone. A longer set with too few grams will look stringy. Prioritise weight and weft count over an extra few inches.
- Skipping the colour test. Always check your match in daylight, not under shop lighting, before committing to a set.
- Clipping too close to the hairline. Leave at least half an inch of natural hair above your hairline free of clips so the roots of the extensions stay hidden.
- Sleeping in clip-ins. Unlike tape-ins or sew-ins, clip-ins are designed to come out at night. Sleeping in them stresses both the clips and your scalp.
- Ignoring the underside. Run your fingers along your nape after installing to check no clip is visible or digging in before you walk out the door.
If your first attempt does not look perfect, that is normal. Most of the polish comes from practice with placement and heat blending, not from buying a different set. Explore MelexWorld's hair extensions and wigs collection to find a texture and length that matches what you are already working with.
Frequently Asked Questions
How long do clip-in hair extensions actually last with regular wear?
A quality human hair set typically lasts 6 months to a year with regular wear, and can be reused up to around 100 times if you wash it sparingly, brush gently, and store it properly between uses. Cheaper synthetic blends tend to wear out, tangle and lose their shine much sooner.
Will clip-in extensions damage my natural hair?
Clip-ins carry the lowest damage risk of any extension method because there is no glue, heat bonding or tight braiding involved, and you remove them every night so your scalp is never under continuous tension. The main risk comes from clipping too tightly or sleeping in them, both of which are avoidable.
How many clip-in wefts do I need for a full head?
Most people need 7 to 10 wefts totalling 100 to 220 grams, with fine hair needing less and thick hair or dramatic length changes needing more toward the top of that range. Buying too few wefts is the most common reason a set looks thin or obvious.
Can I curl or straighten clip-in hair extensions?
Yes, as long as they are made from real human hair, which can be flat ironed, curled and even lightly coloured just like your natural strands, provided you keep the heat below around 180°C and always use a heat protectant. Synthetic extensions cannot safely take styling heat and will melt or frizz under direct heat tools.
Featured in our collection
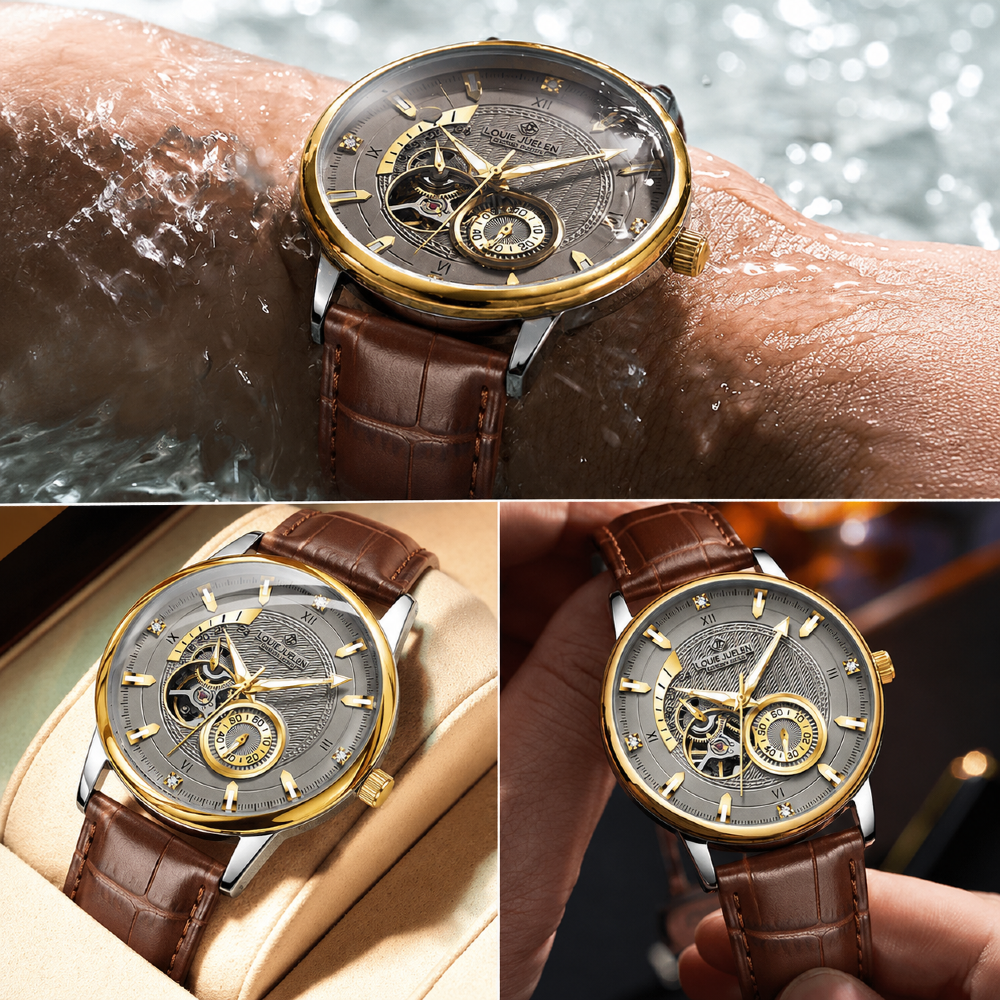
Louis Juelen Luxury Automatic(Tourbillion ) Premium Watch
Automatic Watch Winder
₦85,000
₦150,000

Poedagar Chronograph Luxury Watch
Free 24ml luxury Roll On oil perfume
₦45,000
₦65,000

Louis Juelen Automatic Chain Strap
Automatic Watch Winder
₦140,000
₦250,000